
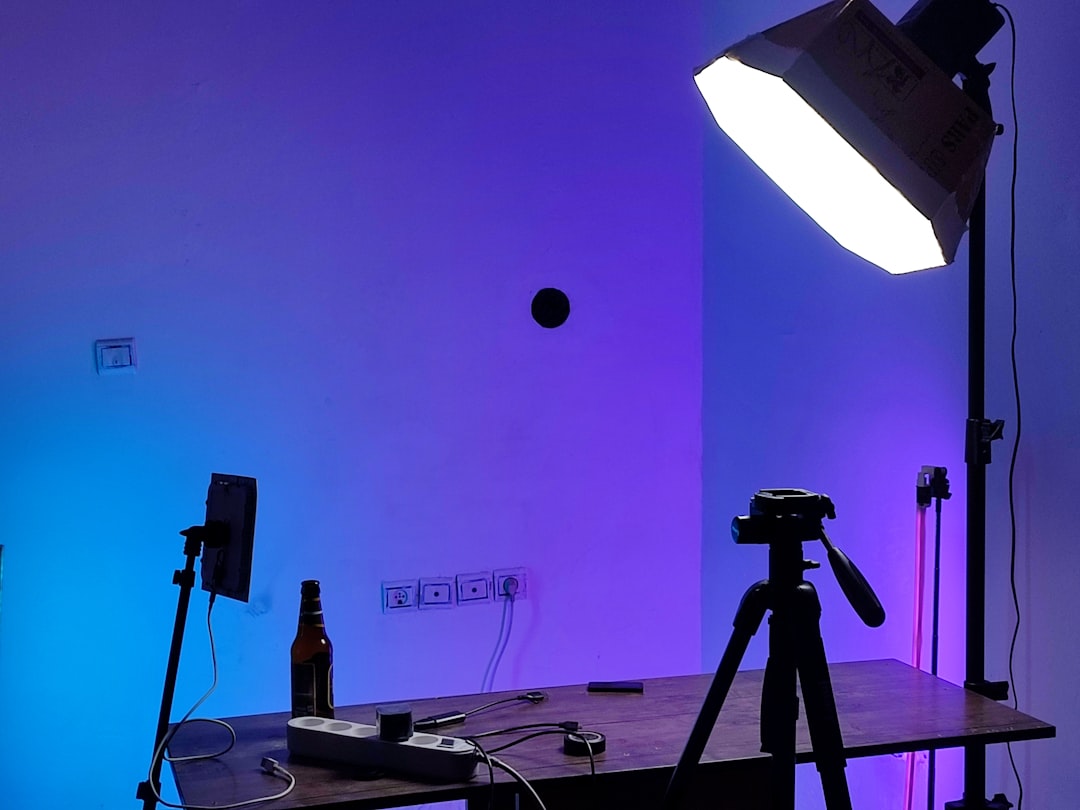
Recording music at home has never been more accessible, thanks to advancements in technology and the availability of high-quality equipment. If you’re passionate about music and want to capture your sound without breaking the bank, soundcraftstudios.com is your go-to ecommerce platform for all your musical instrument equipment needs. In this guide, we’ll explore the essentials of setting up a home recording studio, tips for recording instruments, and how to make the most of your gear.
First, let’s talk about the essentials. A home recording studio doesn’t require a massive budget or a dedicated room. With the right equipment, you can create a professional-sounding recording space in your bedroom or living room. Here’s a quick checklist to get you started:
Checklist: Choose your recording software, Invest in a good microphone, Set up soundproofing.
**Choosing Your Recording Software**
The first step in your home recording journey is selecting the right Digital Audio Workstation (DAW). This software is where you’ll record, edit, and mix your music. Popular options include Ableton Live, Logic Pro, and GarageBand. Each has its strengths, so consider your needs and preferences. If you’re a beginner, GarageBand is user-friendly and free for Mac users, making it a great starting point.
**Investing in a Good Microphone**
Your microphone is one of the most crucial pieces of equipment for recording instruments. A quality microphone can make a significant difference in the clarity and richness of your recordings. For vocals, consider a condenser microphone, which captures a wide range of frequencies. For instruments, a dynamic microphone is often preferred for its durability and ability to handle high sound pressure levels. Soundcraftstudios.com offers a variety of microphones suited for different recording needs, ensuring you find the perfect match for your setup.
**Setting Up Soundproofing**
To achieve the best sound quality, you need to minimize background noise and echo. Soundproofing your recording space doesn’t have to be expensive. Simple solutions include using heavy curtains, rugs, and foam panels to absorb sound. You can also create a makeshift vocal booth using blankets or a closet filled with clothes. The goal is to create a controlled environment where your instruments can shine.
**Recording Techniques**
Once your studio is set up, it’s time to dive into recording techniques. Here are some quick tips to enhance your recordings:
1. **Positioning**: Experiment with microphone placement. For acoustic instruments, try placing the mic at different distances and angles to find the sweet spot.
2. **Levels**: Monitor your levels to avoid clipping. Aim for a healthy balance where the sound is clear without distortion.
3. **Take Breaks**: Recording can be tiring. Take breaks to keep your ears fresh and your creativity flowing.
**Mixing and Editing**
After recording, the next step is mixing and editing your tracks. This is where you can add effects, adjust levels, and create a polished final product. Familiarize yourself with the mixing tools in your DAW, such as EQ, compression, and reverb. These tools can help you shape your sound and ensure each instrument sits well in the mix.
**Final Thoughts**
Creating a home recording studio is an exciting journey that allows you to express your musical creativity. With the right equipment from soundcraftstudios.com and a bit of practice, you can produce high-quality recordings from the comfort of your home. Remember, the key is to experiment and find what works best for you. Don’t be afraid to make mistakes; they often lead to the most innovative sounds. So gear up, get recording, and let your musical ideas come to life!